What will a soil test tell you?
What is the purpose of the soil analysis?
It’s always good to do a soil test just to get a baseline of what your lawn or garden soil status is. Say you moved into a new property recently, or maybe you have been there awhile and want a report card on how you have been managing your soil health.
In some cases, you may find that your soils are perfect. In others, it may be noted that you have been overfertilizing and need to stop adding some nutrients that are no longer required.
You can do a soil test every few years to monitor that you have corrected problems or deficiencies in your soil.
Soil testing is pretty much the same as getting a physical done with your family doctor. It will draw attention to any problems that need addressing.
What is the difference between a soil test kit and laboratory test?

Are soil tests accurate?
There are many home test kits available at garden centres and home building centres. The main advantage to using them is having a same day analysis, compared to outside lab testing, which may provide results 1-2 weeks later. However, the kits can be difficult to use, and they involve multiple steps that can leave much room for error.
In a home test, you simply add a bit of soil and water to a supplied test tube or container, add the specific chemical, shake and wait for the particles to settle.
There are usually 4 separate tests required: nitrogen, phosphorus, potassium and pH. You need to compare the colour of the resulting solution to a chart of the same sort. If your colour vision isn’t good, you might not be able to differentiate the various shades of a colour to get an accurate result.
The cost of a home test kit falls between $18 and $35 for single set sample kits. For an extra cost, you can get kits that offer up to 20 soil tests.
Professional soil testing kit
To get a more precise analysis, it is possible to send a sample to an outside lab. Simply google “lawn and garden soil testing” in your region to find a suitable lab to work with.
Many garden centres also offer a laboratory soil analysis kit. That includes all the instructions and the shipping container for you to send samples (postage paid) to an outside lab.
The cost for a basic lab soil test and the report recommendations range between $30 and $60, plus the cost of mailing. Pick a lab that will give a report that the average homeowner can understand. (Some labs are geared mostly to agriculture and tend to give a report that only an agronomist can interpret.)
What do you get with a basic soil test?

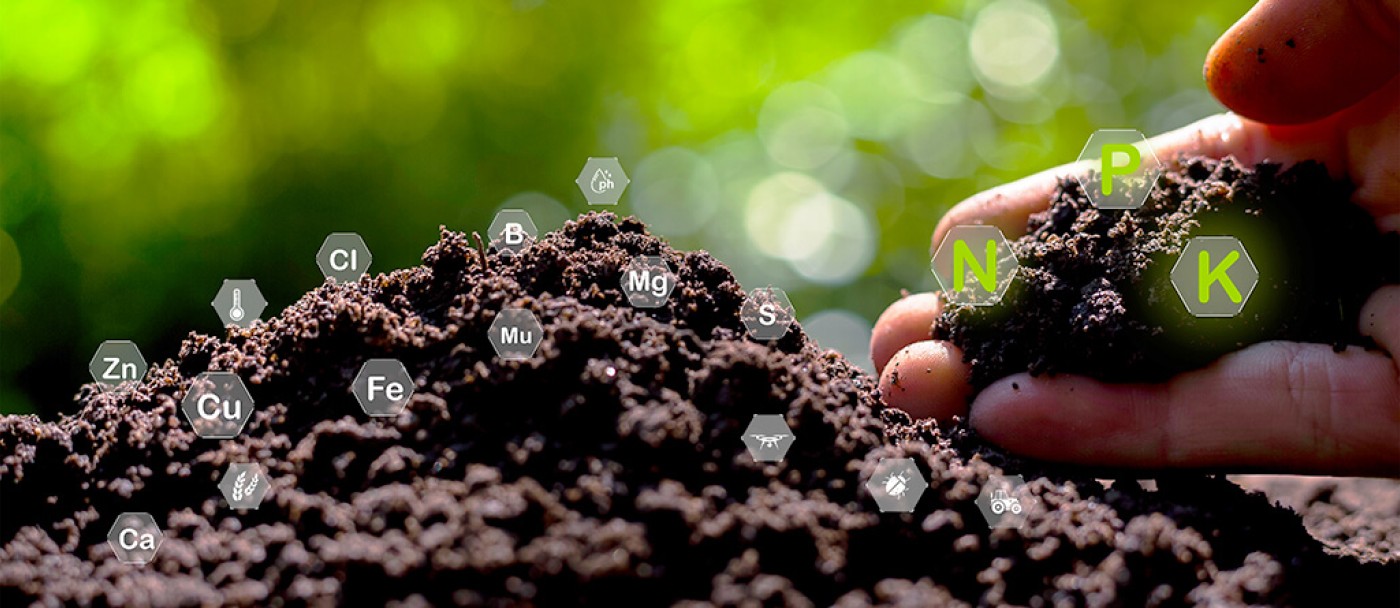
A basic soil test report will provide you with your current nutrient levels, pH, salt content, organic matter and recommendations for your lawn and garden soils.
You’ll get a report card on the phosphorus, potassium, calcium and magnesium levels, which are necessary nutrients required for ideal growth. It will also tell you whether your soil pH is acidic or alkaline. Most plants prefer neutral pH (6.5-7.5 is neutral).
If your pH is higher or lower than that, many micronutrients in your soil become unavailable to the plants. A soil test report will suggest the amount of lime needed to raise the pH or how much sulphur or aluminum sulphate is required to lower it.
What you don’t get with a basic soil test
Often, gardeners may think that a poor garden or lawn is due to nutritional deficiencies. What a basic soil test won’t tell you is if you have other issues, such as poor drainage, poor soil structure, soilborne diseases, too much shade, tree roots that fight for water and nutrients, insects or chemical damage.
The basic test will give you a roadmap to correct any baseline nutritional deficiencies, plus additional recommendations for growing veggies, flowers or lawns.
You won’t get a nitrogen reading in your report, as nitrogen is a volatile element that cannot accurately be accounted for. The lawn or the garden soil report will usually include a nitrogen recommendation based on your specific plants, as checked off on the completed sheet you supplied with your sample.
Some labs offer extra analyses, such as the % of sand, silt and clay, micronutrient levels, compost analysis, soil health (biological quality rating), etc.
How and when to take a ground sample

It is recommended that you collect soil samples in the fall or early spring before you add compost, lime or fertilizer to get an accurate reading. Otherwise, you can collect your sample any time of the year, except when the ground is frozen or too wet.
Each test should be of a specific section, be it a lawn, flower bed or vegetable garden. Keep them separate to get specific recommendations, as lawns have different nutrient requirements versus vegetable gardens.
So, the idea is to take 5 or 6 samples from different locations of the area to be tested and blend them together to get a representative mixture.
Start by cleaning a garden trowel with soap and water, and rinse all traces of soap off. Don’t use surface soil. In fact, scrape a thin layer off the surface and take a sample that represents the area just below the surface (about 4-6 inches deep). Look to get a few tablespoons of soil from each location. You can choose more than 5-6 spots if it is a big lawn or garden.
Blend the collected samples using a clean kitchen container. You’ll need about a cup of soil for the lab to have enough to perform all the tests, so discard the surplus. Remove sticks and stones from the sample (using gloves, as you could contaminate the sample with your bare hands). Seal it in a zip-lock bag and identify the bag. Then package it in a small box and send it to the lab.
Easy do-it-yourself soil tests
There is one simple test that you can do at home. It is called the Mason jar soil texture test. All you need is a Mason jar, the same one used for canning.

Fill it about to almost 1/3 full of a blended soil as you did for your soil samples. Then add enough water to fill the jar about 2/3 full. Shake the jar until all the soil is completely mixed and suspended into the water.
Then leave the jar to sit for at least 24 hours (or longer if needed) to get clear water at the top of the jar.
You should see clear bands of different soil materials. At the bottom will be the sands, then the silts, and the clays will be on top of that. And on top of the water, you’ll see organic matter floating. By measuring how thick the bands of soil are and then comparing that to the total thickness of the soil, you can get a rough percentage of the soil composition.
To determine the type of soil, make the following calculation: the thickness of each layer x 100, then divided by the total thickness of the sample (e.g., for sand: (2.5 cm x 100) ÷ 7) . Then refer to the chart (in the example, the soil is clayey).