Seed Starting 101
Starting seeds indoors is the way to go if you’re concerned about rising grocery expenses, or if you prefer to eat fresh, high-quality vegetables from your own garden. You can use the same technique to grow masses of brightly colored flowers.
If you haven’t tried starting seeds indoors, you may be surprised how simple it is. Here are the basics:
Containers
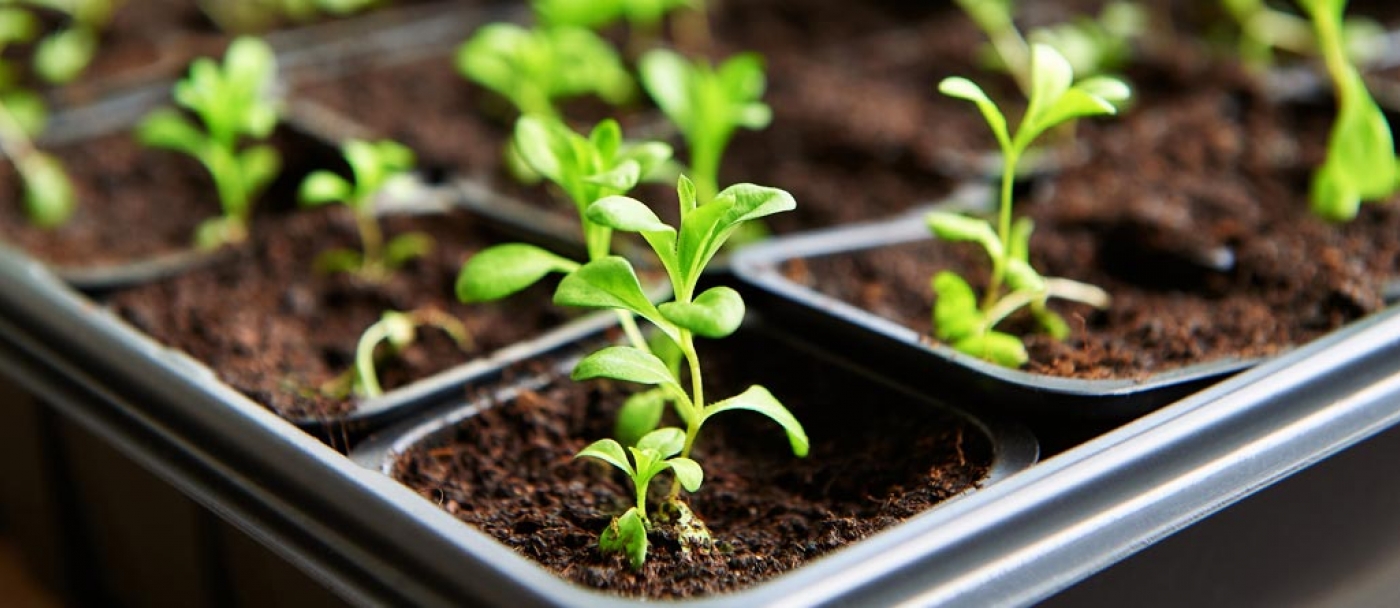
Disposable containers (like yogurt or margarine containers), work well for planting seeds, but be sure to poke a hole in the bottom of each. Without drainage, your seedlings are likely to rot before they get started. You can also use celled trays, which are uniform and easy to handle.
Potting Medium
Fill the containers with a commercial seed-starting mix, which is formulated to provide the ideal growing conditions for germination. Moisten the mix before you plant the seeds. It should be evenly damp but never soggy.
Planting
Plant seeds according to the recommendations on the seed packet. Cover the containers loosely with clear plastic.
Watering
Keep the potting mix moist and never allow it to become bone dry. It’s usually easiest to water from the bottom, but be careful not to overdo.
Warmth and Light
Place the containers in a warm location. A heat mat provides ideal heat for germination, but you can also put containers on top of a refrigerator or other warm appliance.
As soon as the seeds germinate, remove the plastic and move the containers to a cooler room where temps are about 15 C.
At this point, the seedlings require bright light from a fluorescent bulb or grow light. Avoid window sills, which tend to be too hot during the day and too cold at night.
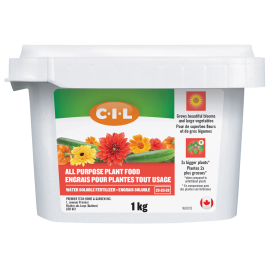
Fertilizer
Feed seedlings every week, beginning when they have two sets of leaves (not counting the tiny seedling leaves). Use a water-soluble fertilizer diluted to half-strength.
Thinning
Seedlings should also be thinned when they have two sets of leaves. Use scissors to snip the weakest plants, leaving one strong plant for each container.
Transplanting
If you started with small containers or cells, you may need to move the plants to slightly larger containers.
Moving Seedlings Outdoors
Move seedlings to their permanent home when you’re sure all danger of frost has passed, but don’t shock them with sudden moves. Harden the plants by placing them in a protected, sunny spot for two or three hours per day. Gradually move them to brighter light, for longer periods of time, until they’re spending entire days outdoors.
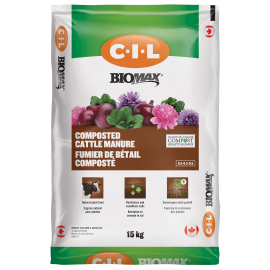
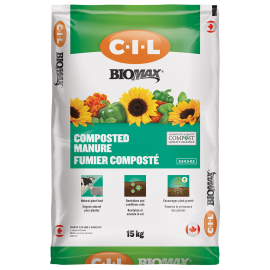
Before planting seedlings outdoors, work a vegetable and herb mix into the top 2 to 4 cm of soil. Vegetable and herb mixes are formulated to support healthy, strong seedling growth.