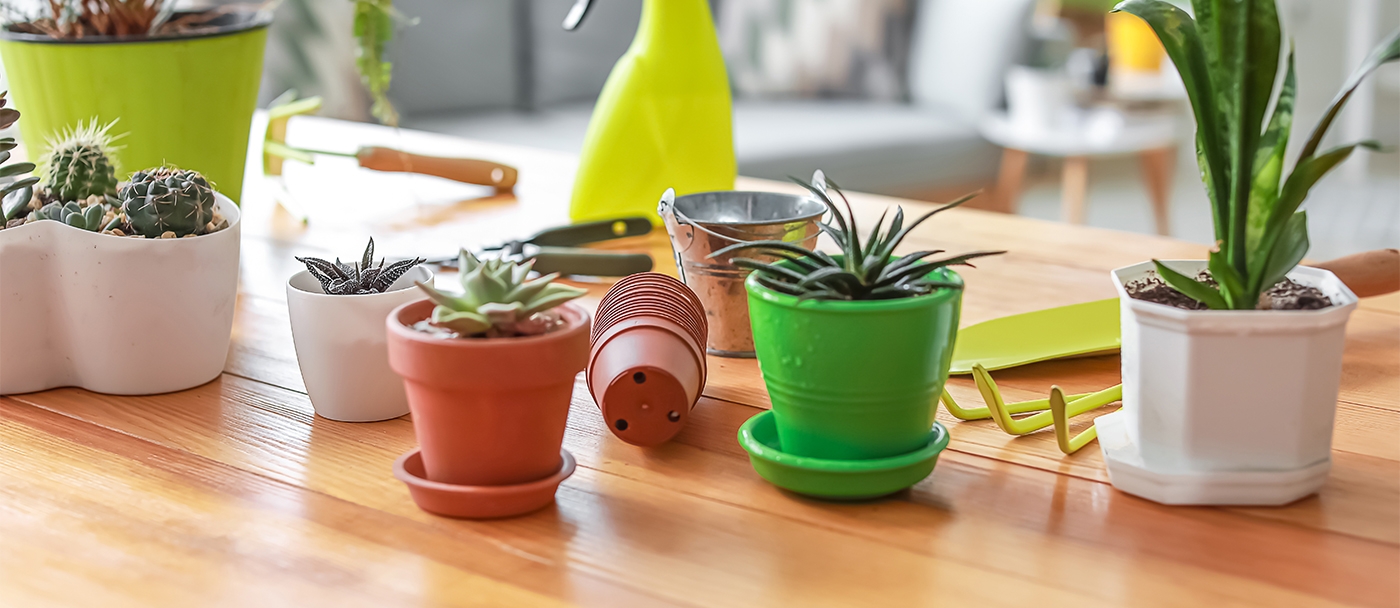
How to Repot Houseplants
There are several telltale signs that a plant is ready to be repotted. Growth may be straggly and pale, or the roots may grow through the drainage hole. Sometimes, a plant may be so badly rootbound that water runs through the drainage hole without absorbing into the soil.
Some plants need to be repotted frequently, while others prefer slightly crowded conditions and can live in the same container for several years. If you decide it’s time to repot, the process is relatively straightforward.
Here’s how:
- Prepare a container no more than one size larger (2.5 to 5 cm.) than the current pot. It may seem practical to move the plant to a much larger pot, but excessive potting soil can hold too much moisture that can rot the plant.
- Ensure the container is clean, and that it has a good drainage hole in the bottom.
- Water the plant a day or two ahead. The plant will be easier to handle if the potting mix is moist.
- Turn the pot on its side. While supporting the stem gently with one hand, carefully guide the pot out of the container with the other hand. You may need help if the plant is large.
- Put a small amount of fresh potting mix in the bottom of the pot -- enough to bring the top of the plant’s root ball to about 3 or 4 cm below the rim of the container.
- Place the plant in the container. Adjust the potting mix in the bottom as necessary if the plant is too high or too low.
- Fill in around the plant with potting soil, then firm the soil gently with your fingers.
- Water the plant. If it settles, you may need to add a little more potting soil.
- Place the plant in a shady spot for a few days. The plant will be a little stressed and this will give it time to settle in to its new container.