Orchids: Easier to Care for Than You Think
You are out shopping, and you see a display of beautiful orchids in full bloom. These intricate blooms are the most enticing flowers of all indoor plants. You are tempted to buy one or two, but you heard that they are finicky plants. Have no fear, they are a joy to look after.
The most common orchid found in stores is the Phalaenopsis (pronounced: fay-lay-NOP-sis), and it is the easiest to care for. The plant is usually grown in a clear grower pot with drainage holes, and this clear pot is placed in a decorative pot with no drainage holes to save your tables and window sills from water damage.
There are only 3 things to remember when bringing an orchid into your home: temperature, light, and water.
- Temperature: Room temperature of 18-24 °C (65-75 °F), no drafts.
- Light: No direct sunlight. The most common mistake comes from placing orchids in a south-facing window. One facing east or north is perfect, or one facing south or west with sheer curtains. So indirect light. The health of the leaves can be assessed by their colour: light green is a sign of good health, dark green indicates a lack of light, and a red or yellowish colour shows an excess of light.
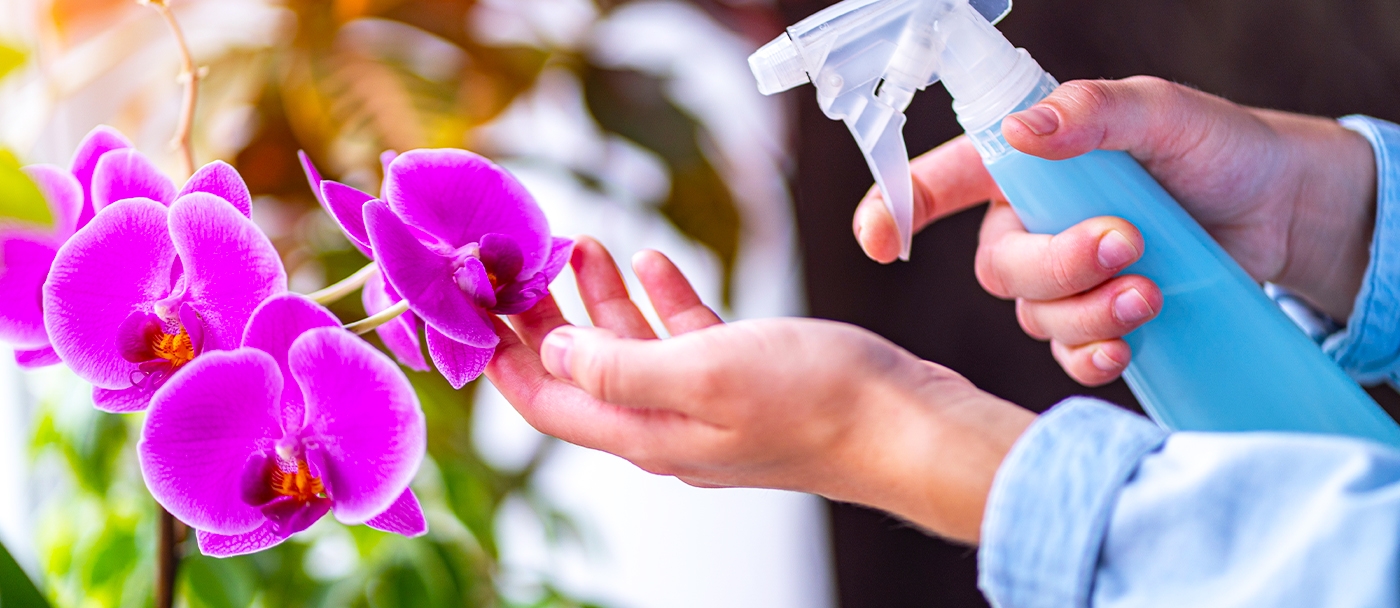
- Water: The other common mistake that new orchid owners make is overwatering. Orchids require little water, maybe ¼ cup of water a week. Or once a week, bring your orchids to the sink, separate the clear grower pot from the decorative one. Add water slowly until it starts draining out of the bottom. Once drained, return it to the decorative pot and place it back where it was. Here again, the appearance of the roots is an indicator of their health. If the roots are white and bulging and that they turn green when watered, your orchid is healthy. However, if they are grey and shrivelled, the flower lacks water. Also, roots that are brown, black, shrivelled, or spongy indicate an excess of water.
When selecting an orchid to bring home, it is good to pick one that already has blooms and “soon to have” bloom buds. That way you can stretch the bloom period as new ones develop once in your home. They will bloom for many weeks and often longer.
The plant, once the blooms fade, goes into a rest period and will eventually reflower. Many first timers think that orchids do not rebloom. Of course, they do. With a little help. Leave the plants in the same spot as before. Here’s what to do:
Prune the flower stalk down to the node where the first flower was. A new stalk will grow from that point. Flowers will appear in a few months.
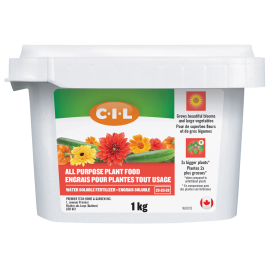
Fertilize: This is the time to fertilize, right after the blooms have ended. And do so every week at watering time with a very diluted balanced fertilizer, such as Schultz Orchids Liquid Plant Food 15-5-5. By adding only 7 drops of fertilizer in a litre of water, you will keep your orchid in good shape and convince it to start reblooming. Once the orchid starts to rebloom, you can stop fertilizing and go back to straight water until blooming ends. And continue this regime.
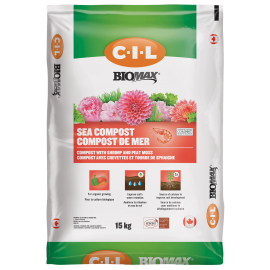
Repotting: There is no need to repot until you notice that the roots in the clear grower pot are getting tight. At this point, you should move up to a bigger size. Orchids grow in a very specialized medium, made up of bark, peat moss and other loose fillers. Never use a regular potting mix, stick to an orchid mix such as PRO-MIX Premium Orchid Mix. It is important that the new slightly bigger pot (1 inch or 2) has drainage holes. If you don't have a new solid bottom decorative pot, at least use a drainage tray to protect your surfaces from water damage.
And that’s all you need to be successful. It is always exciting to see the new stalk emerge and flower buds form. And soon, you'll get to enjoy the next round of intricate blooms!