Starting Seeds Indoors
Many vegetables are easiest to grow by planting seeds directly in the garden, but some, such as peppers, tomatoes, melons, and eggplant, need a head start indoors.
Starting seeds isn’t difficult, but it takes time and attention. The payoff is an abundance of fresh, delicious vegetables in a few weeks. Here are the basic steps:
As a general rule, most seeds should be planted about six weeks before the last average frost in your area.
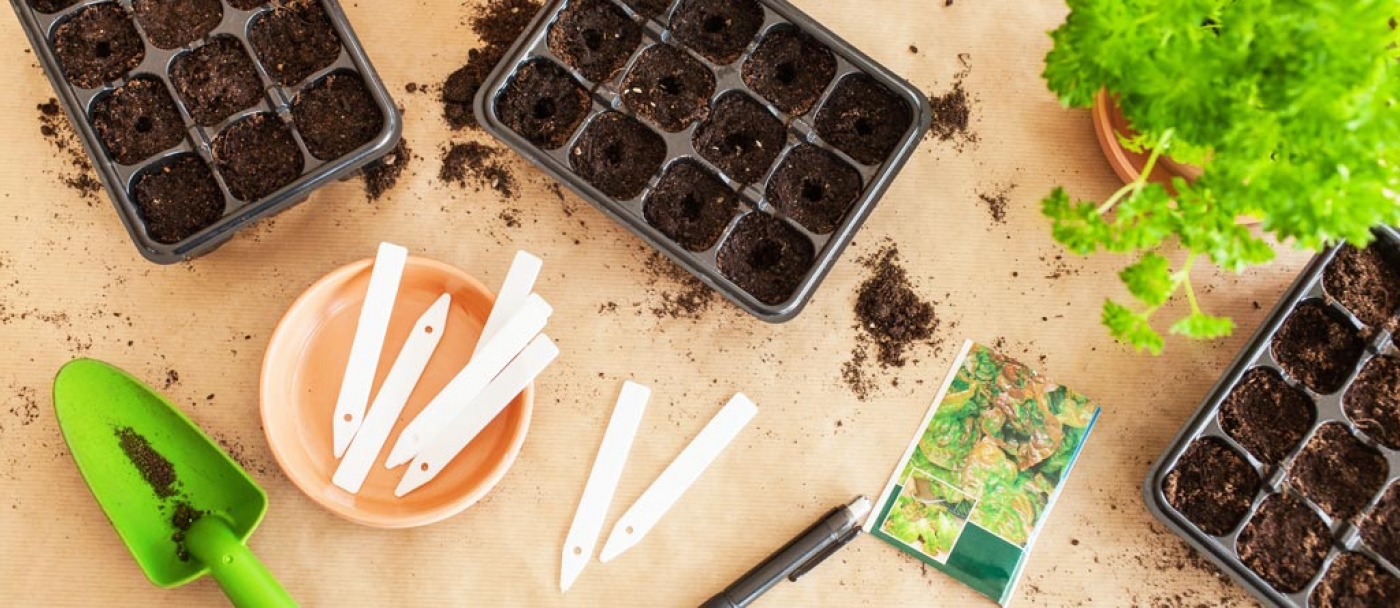
Step by step guide for successful seedlings
- Fill containers with a lightweight seed-starting mix. Nearly any container will work if it has a drainage hole, but many gardeners find it easiest to use celled seed trays, which are uniform and easy to handle
- Moisten the seed-starting mix so it’s moist but not soggy. One easy way to do this is to water the containers thoroughly, then let them drain.
- Plant the seeds according to the depth indicated on the seed packet. Tiny seeds should be barely covered, while larger seeds are often planted at a depth of about 2.5 cm.
- Cover the containers loosely with clear plastic wrap, which will provide humidity that seeds need to germinate.
- Water lightly as needed to keep the seed-starting mix moist but never soggy, as waterlogged soil can contribute to mold and fungal diseases. It’s usually easiest to water from the bottom.
- Place the containers in a warm location such as the top of a refrigerator or other warm appliance. Alternatively, place the containers on a heat mat.
- Remove the plastic and move the containers to bright light as soon as the seeds germinate. Don’t rely on a sunny window, which may be too cold at night and too hot during the day. A fluorescent light turned on for 12 to 16 hours per day ensures the seedlings receive sufficient light.
- At this point, seedlings need cooler temperatures of around 15 C°.
- Feed the seedlings using a water-soluble fertilizer mixed to half strength when the seedlings have two sets of leaves. Repeat every week.
- This is also time to thin the seedlings to one healthy plant per container. Snip the smaller seedlings (don’t pull them).
- As the seedlings grow, you’ll probably need to move them to slightly larger containers until they’re ready to be planted outdoors.
- Harden off the seedlings before you plant them outdoors. Put them in a protected sunny spot for two or three hours. After a couple of days, gradually increase the amount of sunlight and outdoor time.
- Work a vegetable and herb mix into the top 2 to 4 cm of soil before planting seedlings outdoors. Vegetable and herb mixes are formulated to support strong, healthy growth.